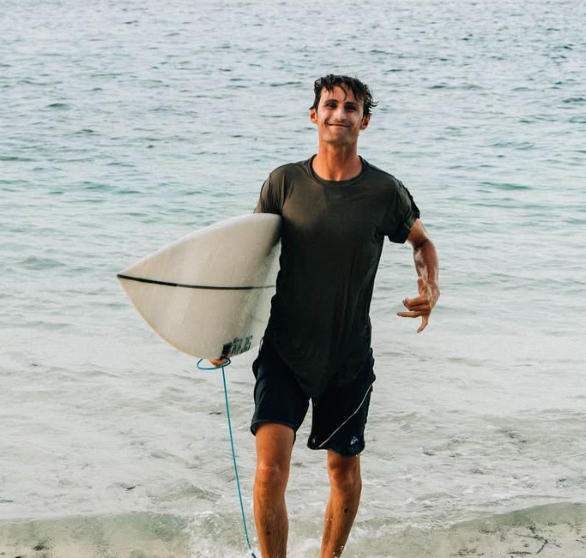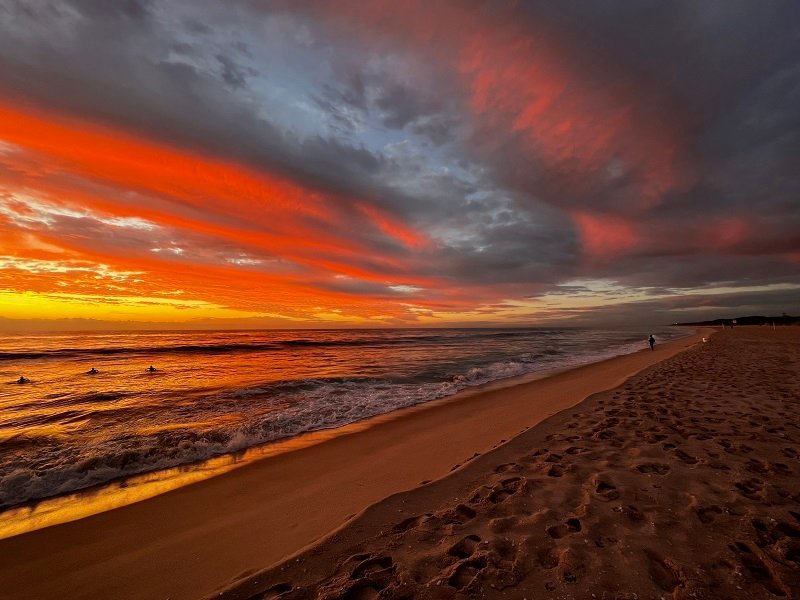
Home to gigantic swells and gentle tides, Australia is a surfing mecca for thrill-seeking pro-surfers and beginners alike with legendary beaches ranging from the iconic Rip Curl Pro Bells Beach with its 16 feet swells to sun-kissed Bondi Beach, with its laidback surfing lifestyle.
Australia is a prime surfing destination due to the island’s massive swells that travel from Antarctica and all-year-round surf-friendly weather. It features world-class beaches like Noosa Heads, Bells Beach, Treachery Beach, Crescent Head, The Pass, Duranbah, and Superbank on the Gold Coast.
This article covers everything you need about Australia’s surfing history, lifestyle, tournaments, and championships, including excellent surfing spots and surprising hidden gems. So, if you are rearing to go – read on!
Surfing In Australia: Facts You Need To Know
With roughly 2.5 to 3.5 million active surfers in Australia, and a wide range of excellent surf breaks spanning from Sydney to Torquay, surfing is a popular sport with an intriguing past.
Australia’s Colorful Surfing Past
There is much debate about the true origins of surfing in Australia. Hawaiian Duke Kahanamoku is credited for introducing Aussies to surfing Down Under back in 1914 and demonstrated an impressive tandem surf with 15-year-old girl Isabel Letham in 1915.
Thanks to US lifeguards, Malibu boards became trendy in 1956. Australian Bob McTavish designed the first V-bottom surfboard in the 1960s, a game changer in the surfing scene.
The first Quicksilver board shorts were created in 1969 by two Torquay surfers who started making these boards in their garage, and the iconic Gold Coast Billabong brand was launched in 1973.
Australia has produced many ASP world champions like Tom Carroll, Chelsea Georgeson, Wayne Bartholomew, Wendy Botha, and Sally Fitzgibbons. And the likes of Mick Fanning, who won an impressive four Rip Curl Pro surfing titles, to name but a few.
Why Australia Is A Premier Surfing Destination
As the birthplace of iconic brands like Billabong, Quicksilver, and Rip Curl, surfing is an integral aspect of the Australian coastal lifestyle and culture. So, it is a prime surfing destination.
This premier surfing status is underscored by the fact that three World Surf League Championship titles are based in Australia, namely the Rip Curl Pro Bells Beach, the Drug Aware Margaret River Pro, and the Quicksilver Pro Gold Coast events.
Other major surfing tournaments include the Men’s Samsung Galaxy Championship Tour, Breaka Burleigh Pro, Australian Open of Surfing, Australian Boardriders Battle, the Noosa Festival of Surfing, and the Beachley Classic.
Where To Find The Best Surf In Australia
If you are looking for the best surf spots, including some hidden gems – look no further! Here is a run-down on Australia’s best-kept secrets.
Crescent Head, New South Wales
Situated north of Port Macquarie on this 15.5-mile-long coastline, dotted with four excellent right-hand point breaks, and breathtaking rides up to 650ft, Crescent Head is hands down one of the best places to surf Down Under, so expect to jostle for space at this popular surfing spot.
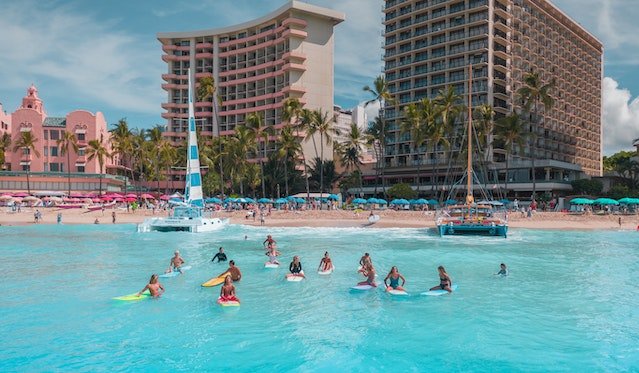
The Gold Coast, Queensland
Even though surfers are spoilt for choice in Queensland, the Gold Coast, home to some of the best suffers in the world, is considered a surfing paradise with its sandy beaches and excellent waves at the likes of Snapper Rocks, Surfers Paradise, Narrow Neck, and Rainbow Bay.
Bells Beach, Victoria
The iconic Bells Beach, with powerful, gigantic swells reaching over 16 feet, is located near Torquay.
Bells Beach is also home to Australia’s oldest and most renowned surfing event, the Rip Curl Pro, which dates to 1962, so it’s clear why it is considered one of the best surfing spots in the world.
Sydney’s Northern Beaches
With a stunning 7.5-mile-long coastline that stretches from Manly to Palm Beach, the Northern Beaches are some of Sydney’s popular surfing spots.
Although the iconic North Narrabeen beach is the busiest, the coastline extends over 1.9 miles, and you can ride some massive waves at the legendary Long Beef Bommie.
Treachery Beach, New South Wales
Located at Seal Rocks, Treachery Beach, which is tucked away from all the crowds, is a hidden gem. And it’s hard to believe that this prime surfing destination with its powerful southerly swells is not well known. So, best keep it that way!
The Pass, Byron Bay
This list of the best Australian surfing spots would be incomplete without mentioning Byron Bay, with an abundance of excellent beaches like The Pass, situated near Clarkes Beach, with some of the best waves in Australia.
Noosa Heads, Queensland
With some of the best longboard breaks in the world for pro-surfers and tranquil spots in between for those new to surfing, Noosa Heads cater to all abilities.

Exploring Australian Surf Culture
Australia’s iconic surf culture started in the ’60s when bohemian surfers like Rip Curl founders; Brian “Sing Ding” Singer and Doug “Claw” Warbrick formed tight-knit surfing communities in Victoria, Torquay, and other coastal towns.
The 60s is considered surfing’s golden age for those who wanted to escape city life and enjoy a laidback lifestyle with cheap communal house rents ($20 per week) and shared vegetarian meals.
Thus, it is no surprise that this entrenched Australian surfing culture reverberates today, with avid surfers prioritizing surfing above all else by moving to coastal areas or traveling up and down the coast looking for the best point breaks.
To illustrate how sought after the surfing lifestyle is in Australia, areas like the Gold Coast in Queensland have more active surfers per capita than any place in the world.
For instance, Coolangatta is home to legendary world-class surfers like Mick Fanning, Joel Parkinson, and Stephanie Gilmore, and the annual Quicksilver Pro Gold Coast surfing competition has been held there since 2002.
However, the Gold Coast also features the renowned Superbank, a partially artificial beach formed in 2007 with a 1.2-mile-long coast and the fastest and longest hollow surfing waves on earth.
The Gold Coast also offers a stellar lineup of competitive events in Duranbah, Superbank, and Burleigh Heads. It’s clearly a surfer’s paradise!
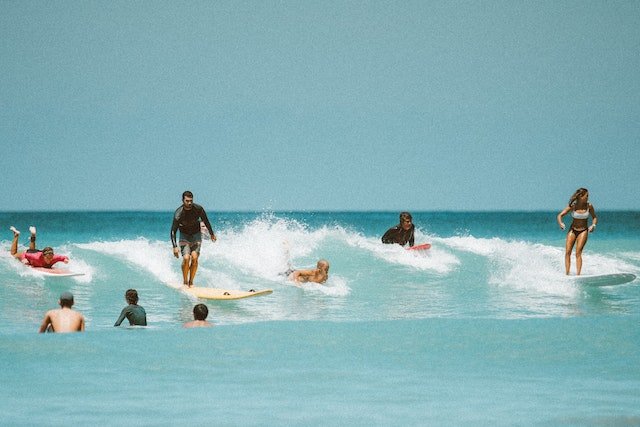
Best Time To Surf In Australia: A Seasonal Guide
Even though Australia’s climate varies dramatically, depending on where you are, the weather is sunny or humid during the summer and mostly dry in the winter.
So, if you are planning a trip to Oz, you will be happy to know that there’s no official surfing season, and it’s an all-year-round surfing destination for stellar waves.
Albeit, we all know that weather conditions can be inconsistent, and this is true for the hot Australian summer season, with average water temperatures reaching 79-82°F from December to February when the cyclone season kicks in with epic waves for at least a week.
However, if you plan on going Down Under during the summer, be prepared for crowded waves and steep tourist prices as it is the peak travel season.
Pro-tip: If you want to enjoy pumping swells, offshore winds, warm water with far fewer crowds, and better prices, book your trip in Autumn between March and May.
Alternatively, consider visiting Australia during the winter months from June to August. Even though the average water temperature is 66-72°F, it’s still a great time to surf. While spring is less consistent weatherwise, it’s still worth a visit.
The Australian east coast water is also far warmer than the south coast, so you can surf there without a wetsuit in the afternoons, even during mid-winter if it’s not a windy day or early on a winter’s morning (when you will need a long sleeve wetsuit).

Top Surf Spots In Australia: Map And Details
While there are so many excellent surf spots Down Under, the following world-class beaches stand out. Here are some of the top surf spots in Oz, including maps to get there.
The Gold Cost
The Gold Coast is a surfer’s paradise, commonly known as Australia’s land of milk in honey, with iconic swell slams on beaches ranging from the legendary Coolangatta and Snapper Rocks to Kirra.
Click here to find a map of the top surf spots on the Gold Coast.
Bells Beach
Home to the annual Rip Curl Pro, Bells Beach, located along the breathtaking Great Ocean Road, and a minute’s drive from Melbourne, thoroughly deserves to be included on this list of the top surf spots in Oz.
Click here to find the legendary Bells Beach.
Byron Bay
This laidback coastal town is a trendy hangout spot for surfers, hippies, and hipsters, with a wide array of beginner-friendly beaches with private and group surfing lessons on the main beach, including Wategos Beach and Tallow Beach.
Click here to explore the top Byron Bay beaches.
Bondi Beach
Sydney’s Bondi Beach and its postcard-perfect beaches and relaxed lifestyle need no introduction. It caters to surfers of all ability levels with beginner-friendly swells and excellent right-handers in areas like South Bondi.
Click here to find the top surf spots in Bondi Beach.
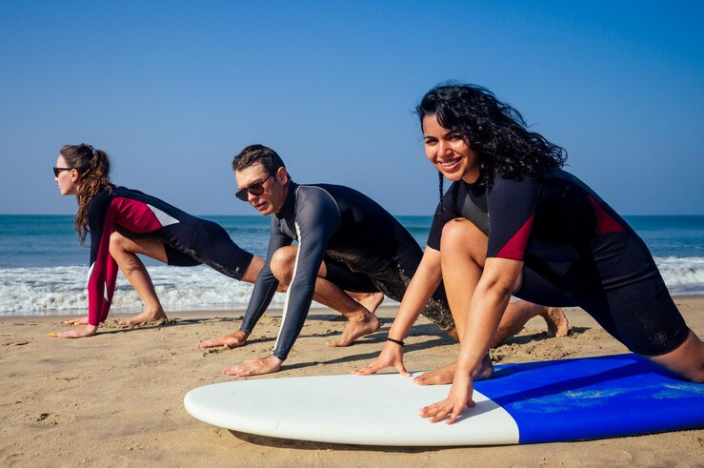
Beginner-Friendly Surfing Destinations In Australia
Australia is ideal if you are looking for beginner-friendly surfing spots with excellent surf- schools, as there are so many to choose from.
If you are first time surfer, avoid beaches with massive swells or vortex barrels, and opt for beaches with lifeguards, white-water waves, and gentle tides like the following beginner-friendly beaches:
- Anglesea in Victoria
- West Beach in Western Australia
- Tathra Beach in New South Wales
- Middleton Beach in South Australia
- Clarkes Beach in Byron Bay, New South Wales
- Dicky Beach on the Sunshine Coast in Queensland
- Crescent Head in New South Wales (with Kempsey-Crescent Head Surf Club flags)
Australia Surf Camps: What To Expect
Booking a surf camp is the most convenient way to travel to Australia, as the organizers take care of all your basic needs. You don’t have to worry about booking accommodation, transfers, lessons, or hiring surfing gear, or in some instances, airport transfers and meals.
With so many excellent Aussie surf camps, it’s often difficult to choose, so check out their latest reviews to find the right one.
The Best Surf Towns In Australia
Considering that 90% of Australia’s population lives close to the coast, the best surf towns are, depending on your location, a fun road trip away.
If you are planning your trip Down Under, here’s a brief overview of accommodation, dining, getting around, and other vacation activities.
Accommodation
Like most parts of the world, popular Aussie coastal cities are more expensive than small towns, so bear that in mind when shopping for accommodation.
Australia is a prime backpacking destination, so if you are traveling on a tight budget and prepared to “rough” it a little, you can expect to pay roughly 15 USD per night for a dorm room.
You can also stay at a budget-friendly campsite which typically costs 10-20 USD per night.
There are also lots of surfer-friendly hotels, particularly on the Gold Coast, with budget-friendly double room rates.
Food And Dining Out
Food is expensive in Australia, so you can expect to pay roughly 12 USD for fast food and 6-9 USD for a basic sandwich. If you are prepared to cook your own meals, it should cost you roughly 80 USD per week.
Australia also offers world-class restaurants and some of the best fresh seafood on the planet!
Getting Around
Even though taxis and trains are relatively expensive, Australia’s public bus system is affordable. Thus, getting around is easy, particularly on the east coast, where buses run between the major cities.
Another budget-friendly way to get around is by sharing rides with fellow travelers. So, if you plan on staying at a hostel, check the bulletin boards for rideshare posts.
Activities And Upcoming Events
Australia is a massive country that offers many fun activities that cater to adrenaline seekers, with abseiling, shark-cage diving, and river rafting, including wildlife enthusiasts with excursions to koala wildlife sanctuaries.
If you want to make the most of traveling all the way to Australia, check out the following, not to be missed upcoming events.
Conclusion
This ultimate guide to surfing proves that Australia is a dream come true with world-class beaches ranging from the legendary Gold Coast and the iconic Bells Beach to hidden gems like Treachery Beach that cater to beginners and pro-surfers alike with gentle tides and thrilling rides.